


Thinking of printing a travel photo book? Read this first
Blurb book review: How I turned 3 years of travel into a beautiful coffee table book

Blurb is a online book publishing platform that allows anyone to easily create, self-publish, share and sell their own prints, wall art, books and ebooks.
Adobe Lightroom (the photo editing tool I use) even has a Book module that integrates directly with Blurb to make it easy to create your first photo book.
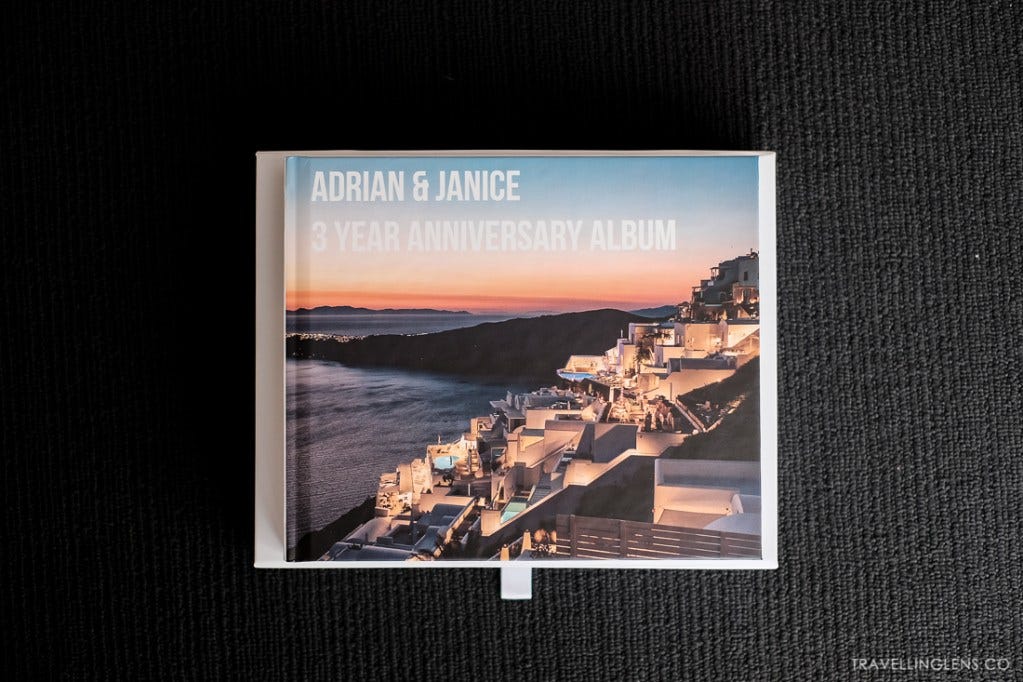
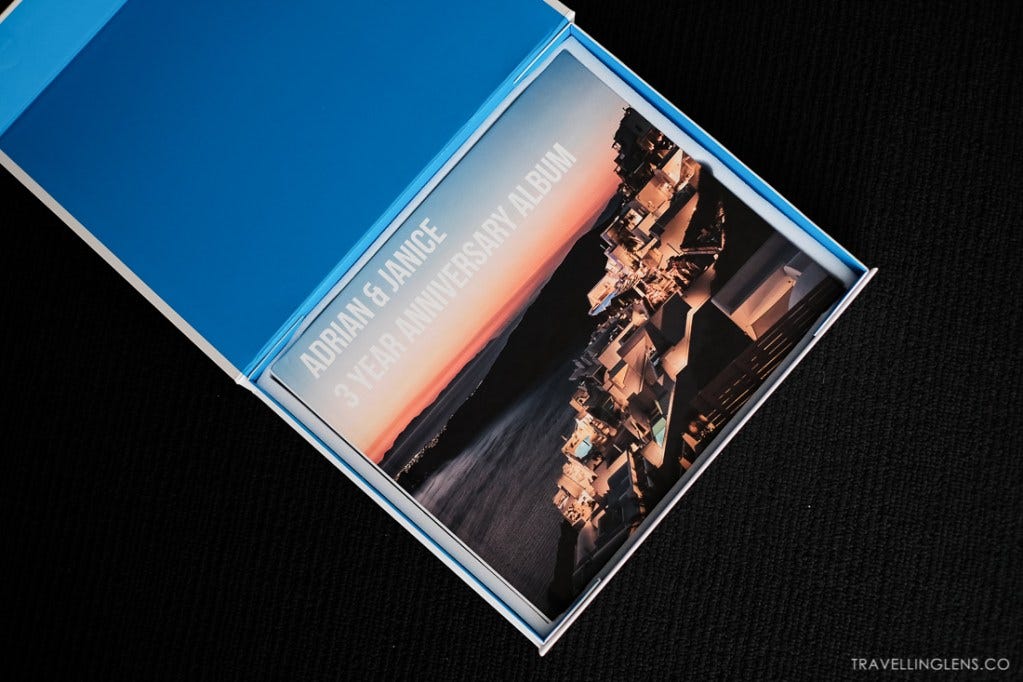
For this book project, I decided creating a 3 year anniversary photobook as a gift to my husband.
It also “forced” me to pick key photos to edit and process in Lightroom from my ever growing collection of travel photos in Adobe Lightroom. It was a big photographic project that took me a couple of months to complete!
Most of that time was spend photo editing and curating the photos down to the ones that were most compelling. Then sequencing them into a logical series that told the story of our travels.
This is my in depth review of my process of making this photo book via Adobe Lightroom, the Blurb book publishing process and my thoughts on the final product I received.
I’m not an expert in printing photo books—this is only my second photo book that I’ve ever made.
So my views are really just off my personal experience of making a photobook and is not associated with Blurb in any way.
About Blurb
They have been around since 2006, founded by a photographer who wanted to make making photobooks simple and affordable.
It was at the precipice of the explosion of consumer digital photography. Point and shoot cameras and DSLRs started to get into the hands of everyday people. Since then they have expanded into not just photo books, but wall prints, cook books, travel books, magazines.
Why photobooks?
My main interest in physical photo books is to tell a story in a tangible way.
Something we can hold, touch and flip through. Photo books are a great way to document and showcase our personal travel journeys and stories.
On a personal level, can be used to share curated images from weddings, special life events and family stories.
Professional photographers can use photo books to showcase their portfolio of images to clients.
What does Blurb offer?
Blurb offers 6 sizes from mini square books all the way to large landscape books.
They also offer 6 different paper types including a thicker layflat paper.
You can choose from glossy softcover, hardcover image wrap with matte finish or hardcover dust jacket with a glossy jacket. For layflat books, your only option is the hardcover image wrap with matte finish.
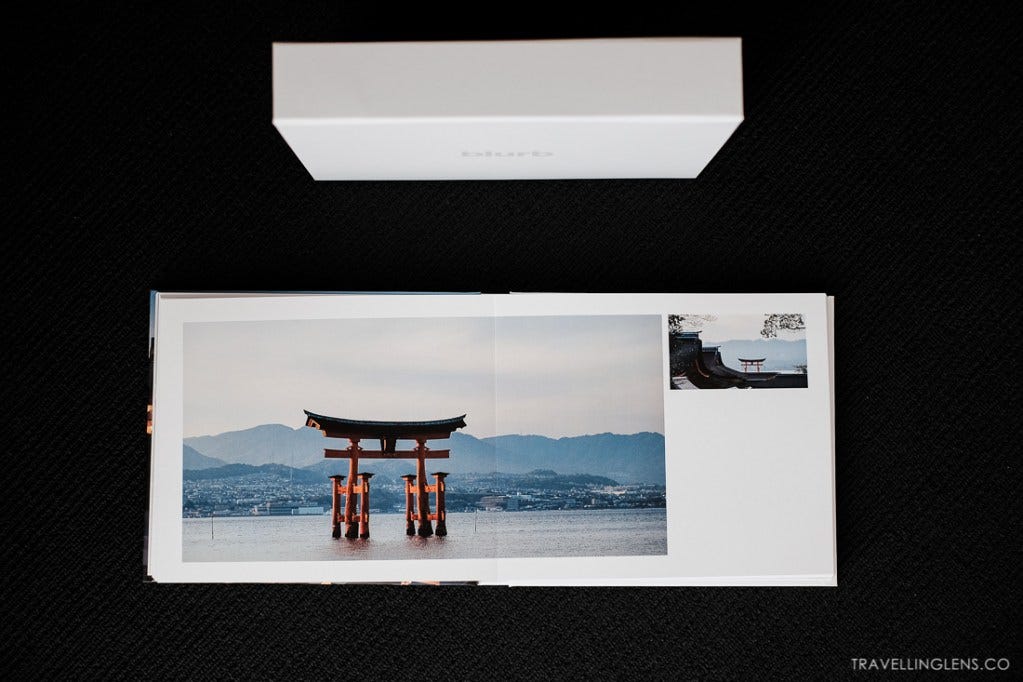
The layflat book is a great option for travel stories and photography where you want to show case your landscapes or panoramic scenes that stretch across two pages.
As layflat pages are thicker, it’s great for books that will be handled frequently or if you want a more premium feel (e.g. Wedding or family photo books).
Delivery & Packaging
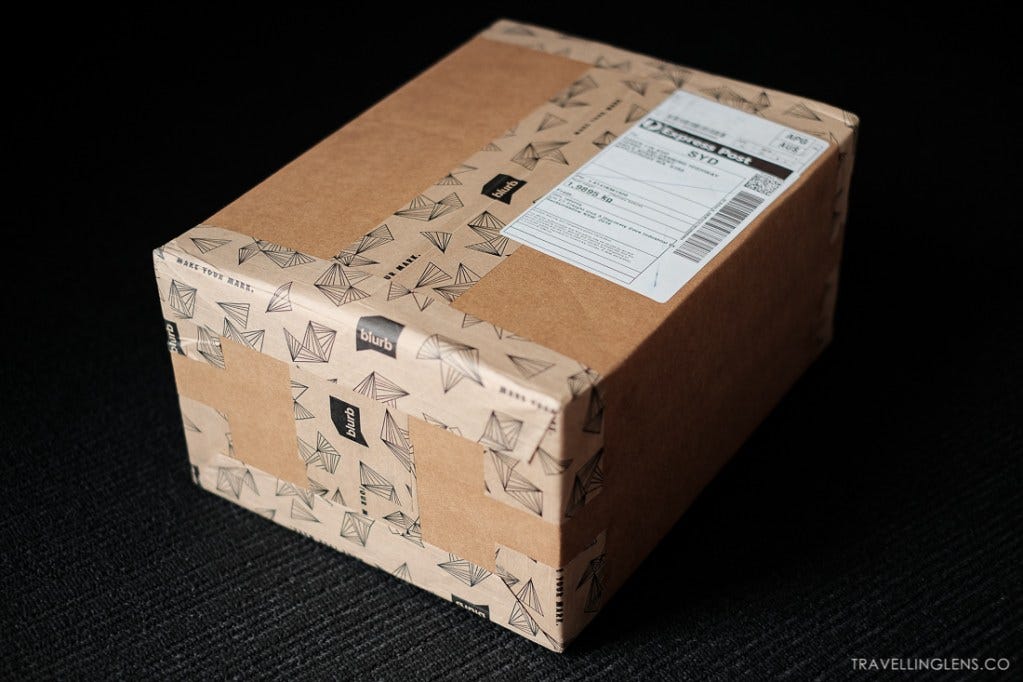
Once the book was ordered from Blurb, it took around 3 weeks for it to be printed and shipped to me.
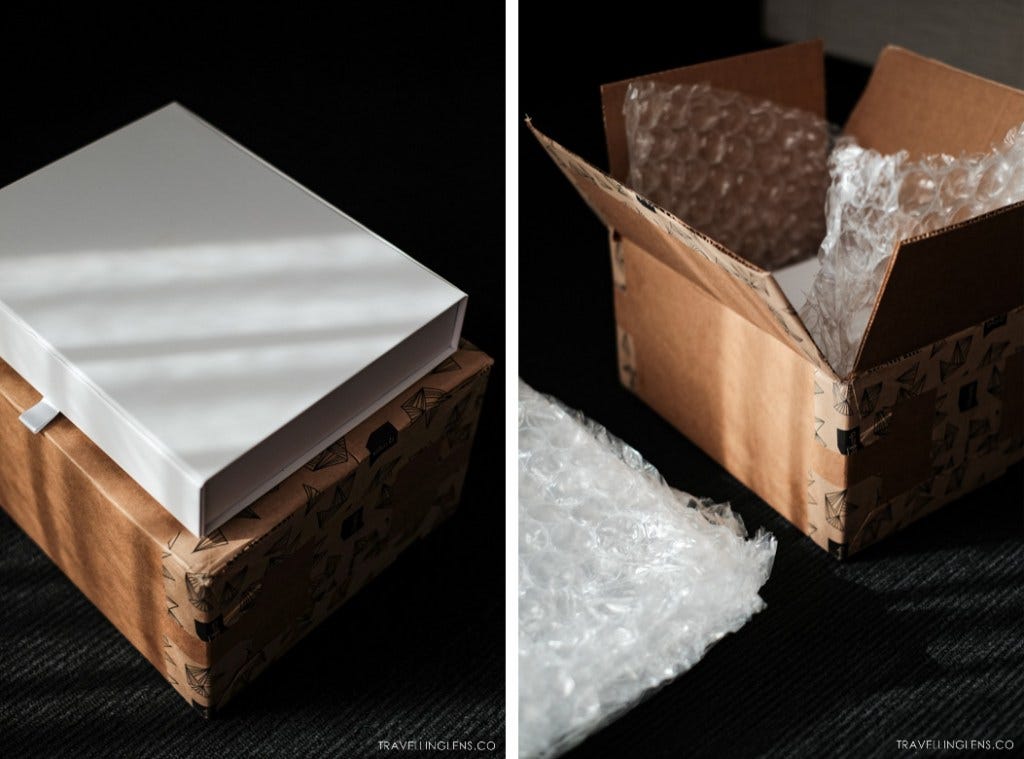

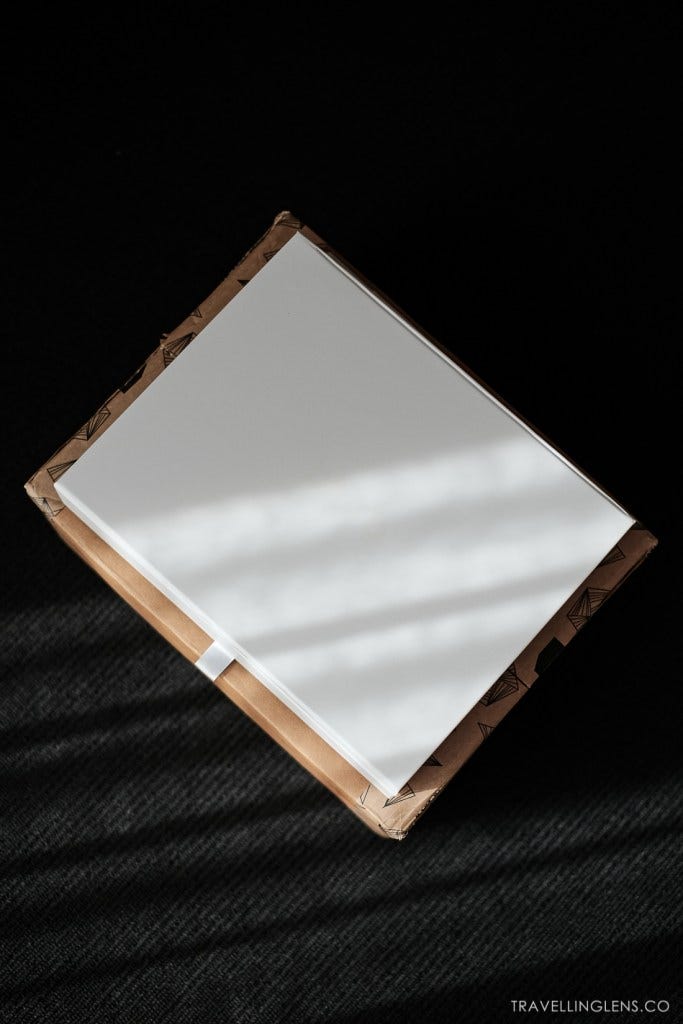
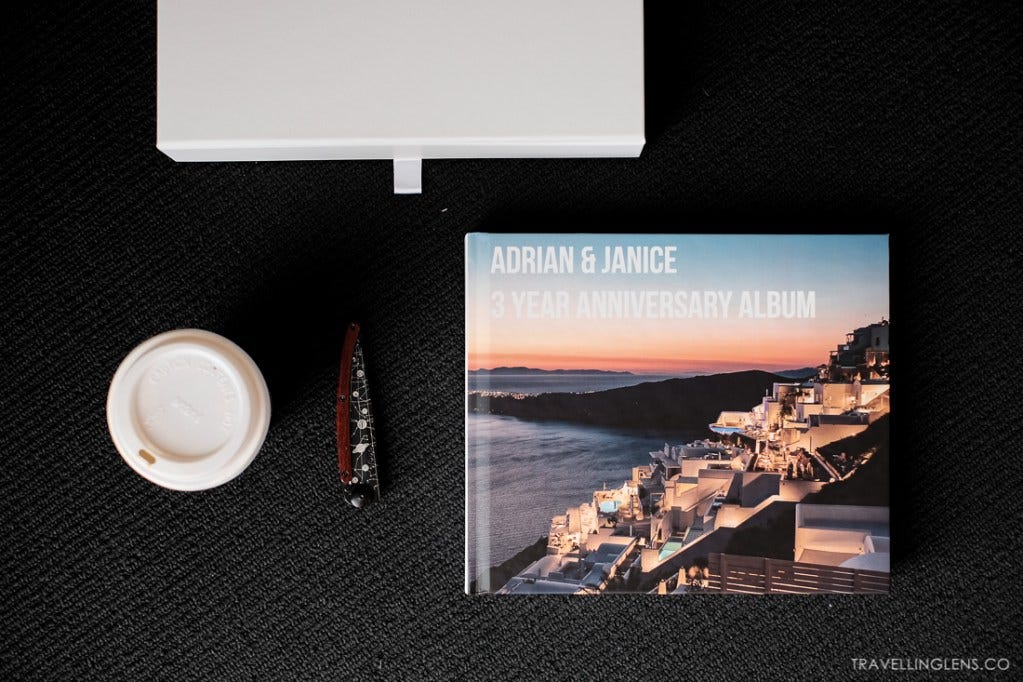
I didn’t expect such a large and well packaged box.
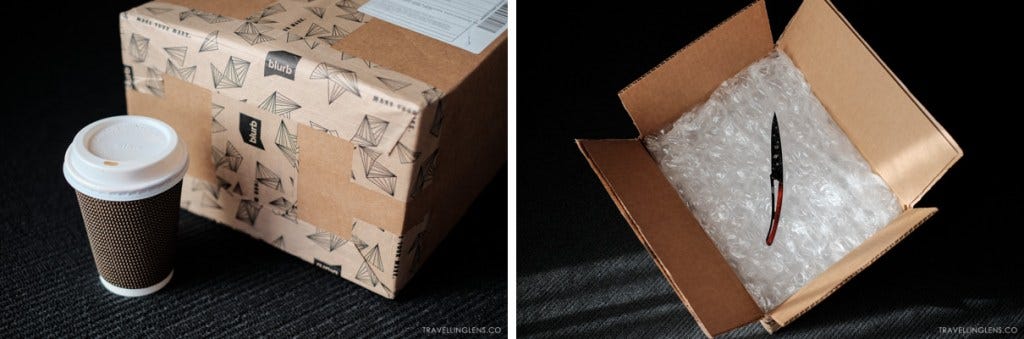
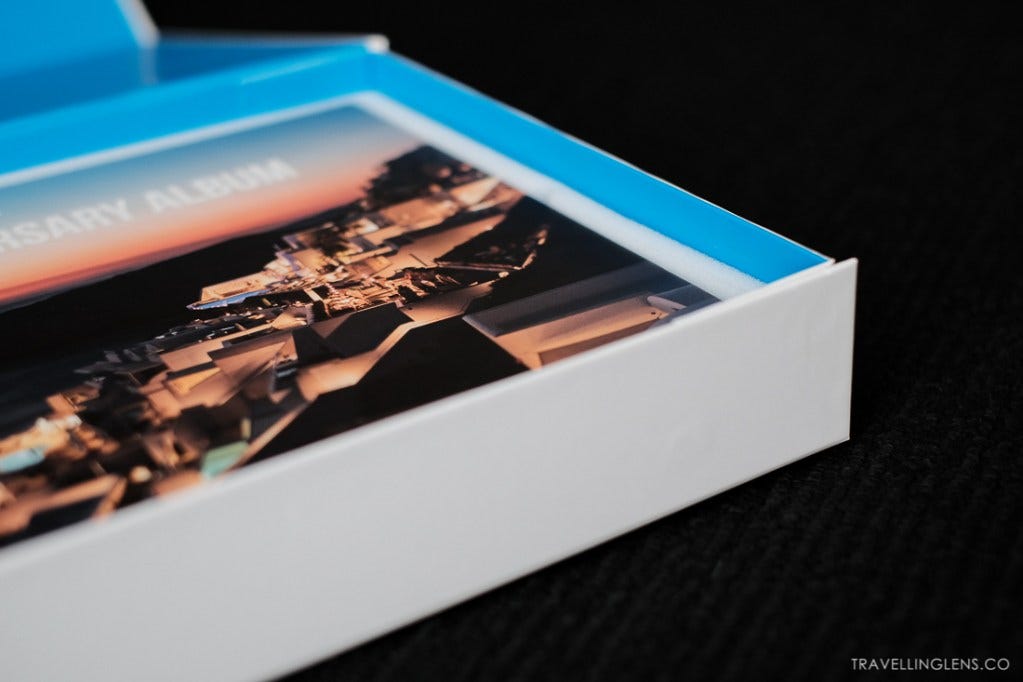
The photo book was very well protected—70% of the box was just bubble wrap! The book was stored inside a matte white photo book box.

I also didn’t expect the photo book itself to be shrink-wrapped (another layer of protection).
Overall, I was very pleased with the packaging. No damage at all to the photo box or the book.
Pricing
Layflat books naturally start at a higher price point.
The selling point is that it’s a more durable and premium product.
At the time of ordering the photo book, Blurb had a 110 page limit (lower than non-layflat books) and it was printed on premium lustre ultra-thick paper (432 gsm).
Look and feel of the photo book
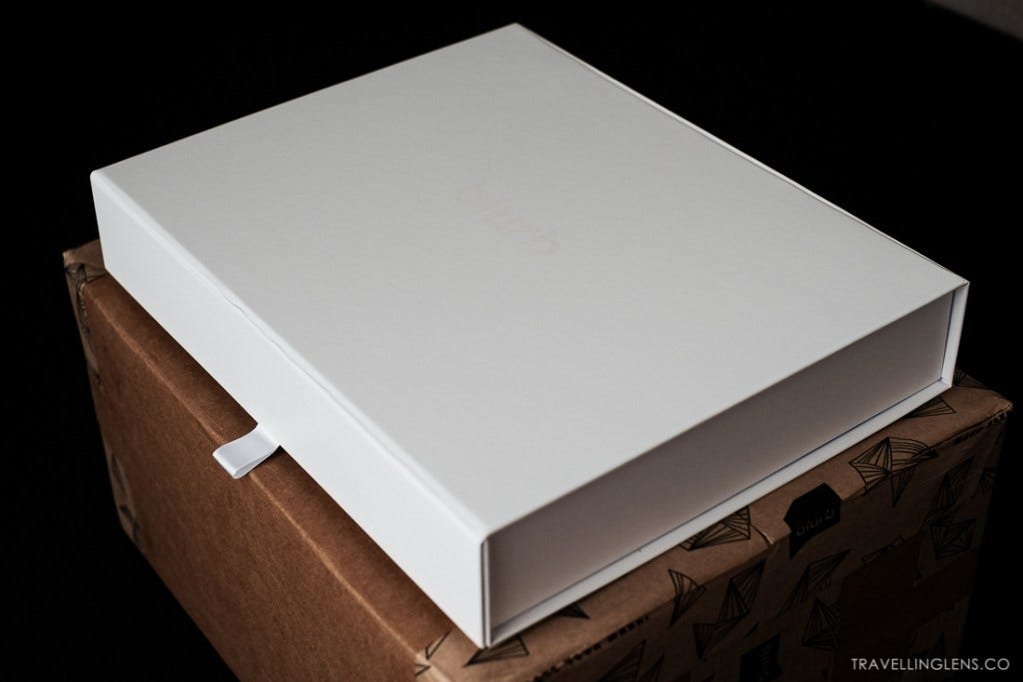
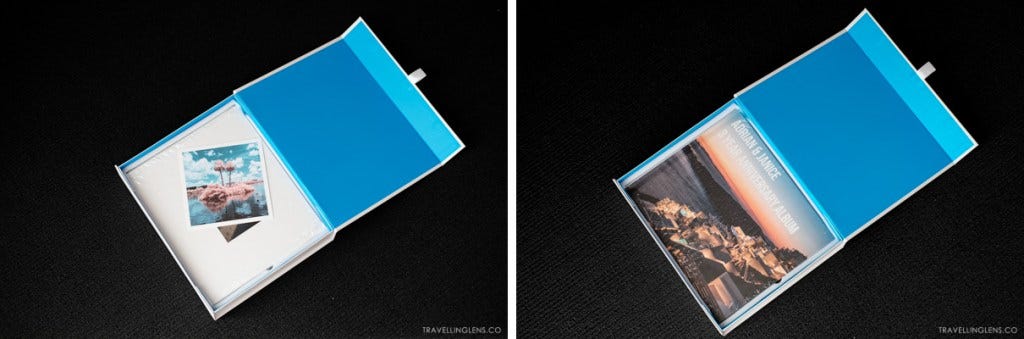
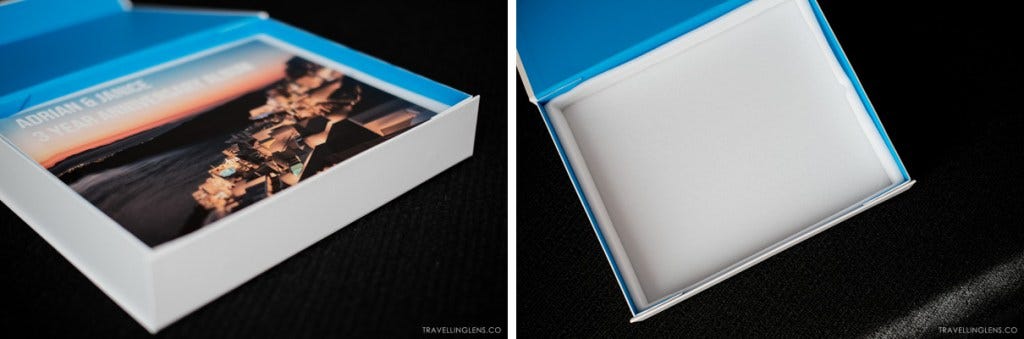
At first glance, the box itself looks solid and sturdy.
However I would say it’s not a very high end book box. When you open up the box and leave and let the cover lay flat, the cover of the box does pull on the box a little. The box is held closed with a magnet built right into the box.
The white fabric pull-tab that you can use to pull open the box is a nice touch though.
The photo book is well padded inside the box. Though I feel like the white foamy padding around the photo book makes it lose a bit of the premium look and feel.
It was my first layflat book and first time printing with Blurb, so I wasn’t sure what to expect.
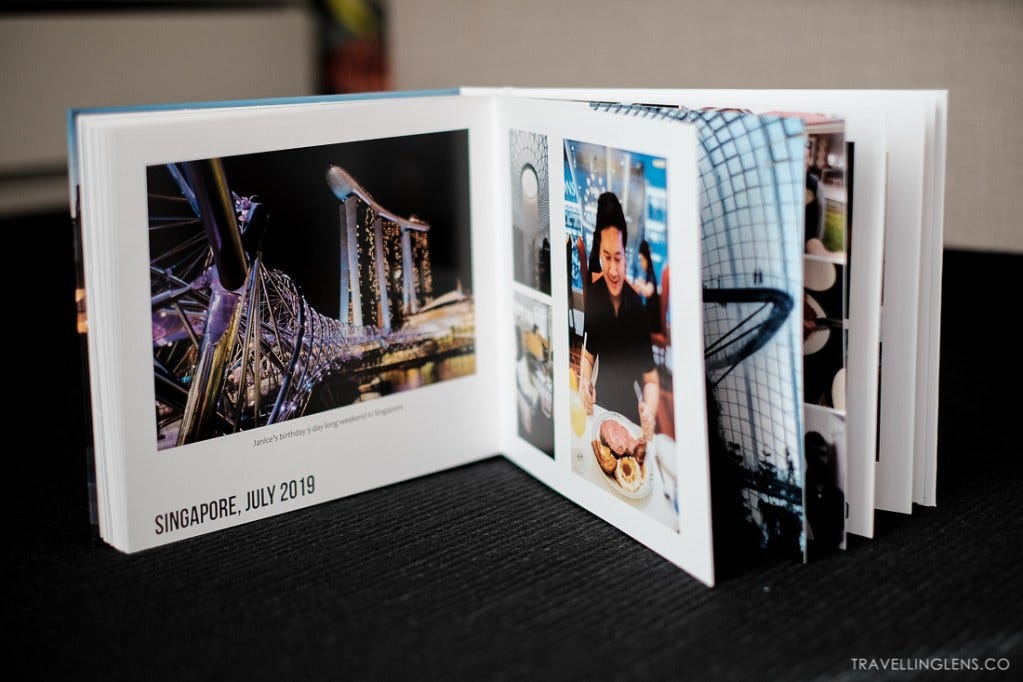
I was pleasantly surprised by the quality and colour reproduction of the images and pages in the book. I don’t use a colour calibrated monitor to edit my photos and I didn’t do anything in particular to optimise my photos for printing.
I very much relied on Blurb to manage my colours.
Looking through the pages of the book, in my eyes I feel like the colours turned out exactly as I expected. I had a mix of photos taken on my mobile phone and my Fujifilm camera.
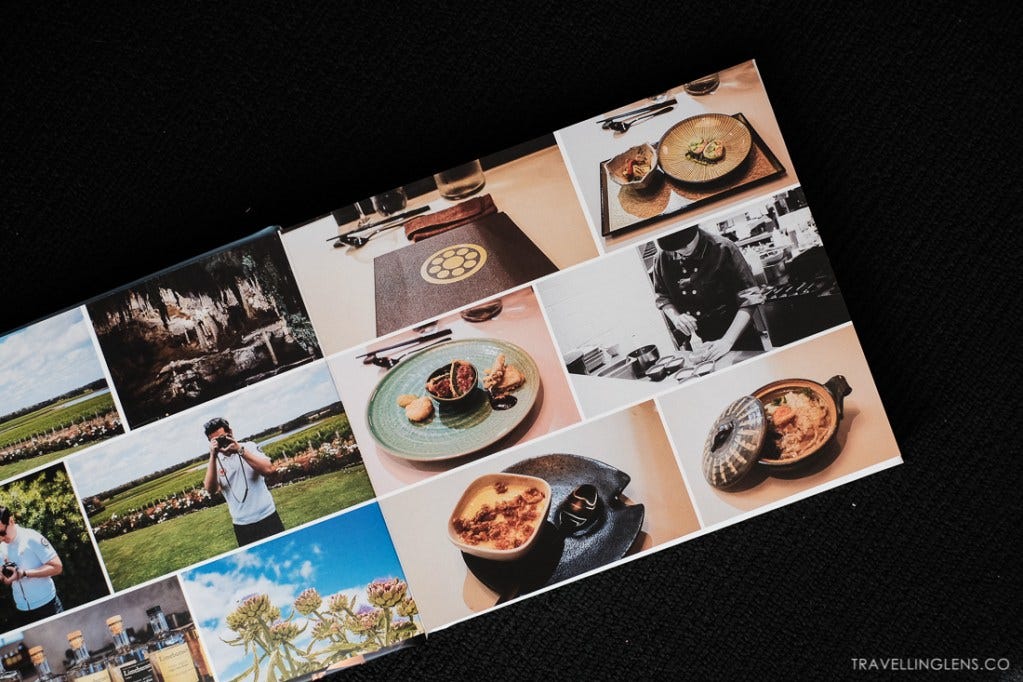
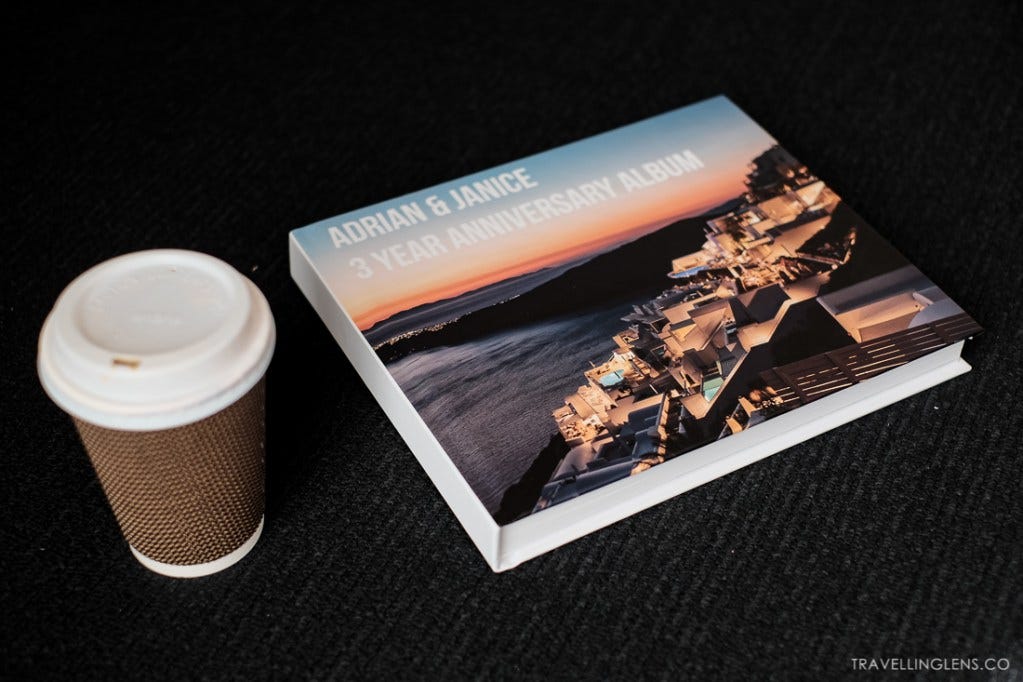
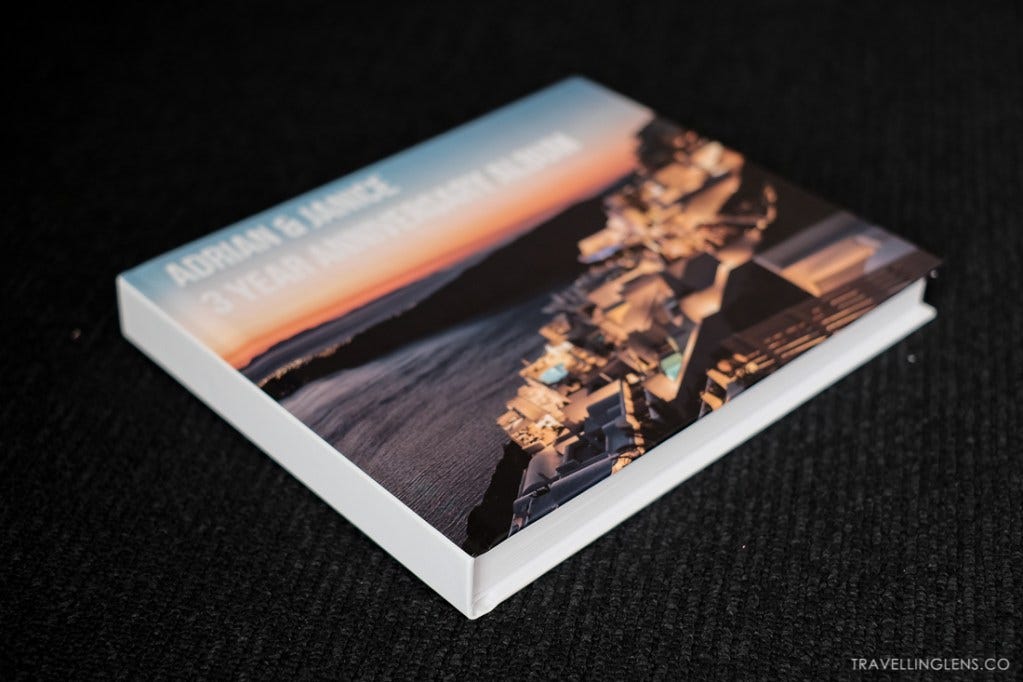
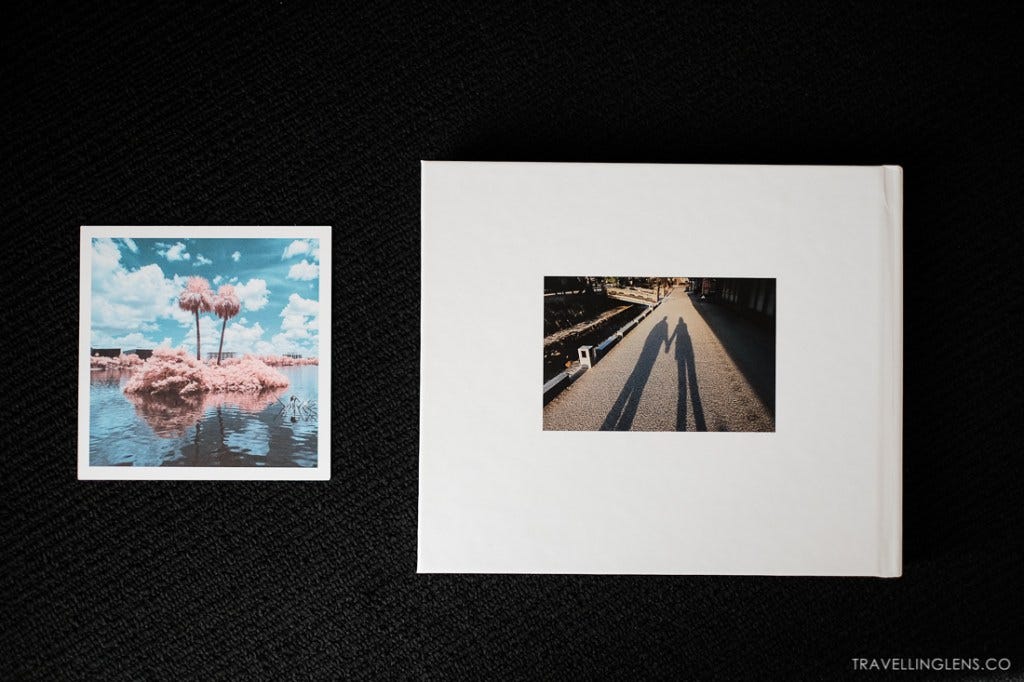
I really like the hardcover matte look.
It made the book look and feel like a premium product.
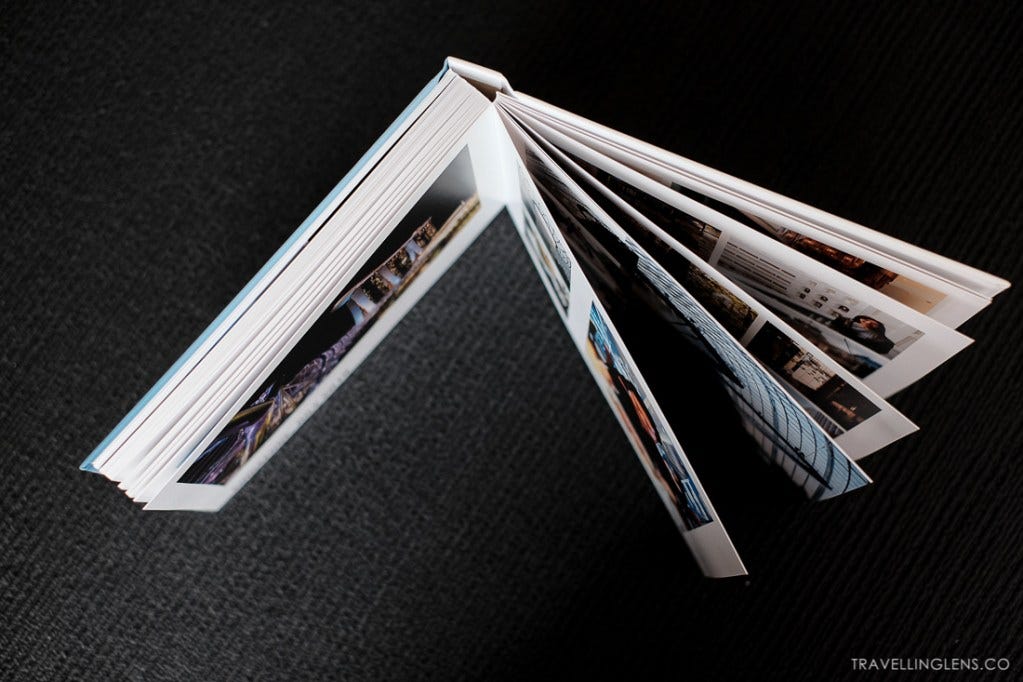
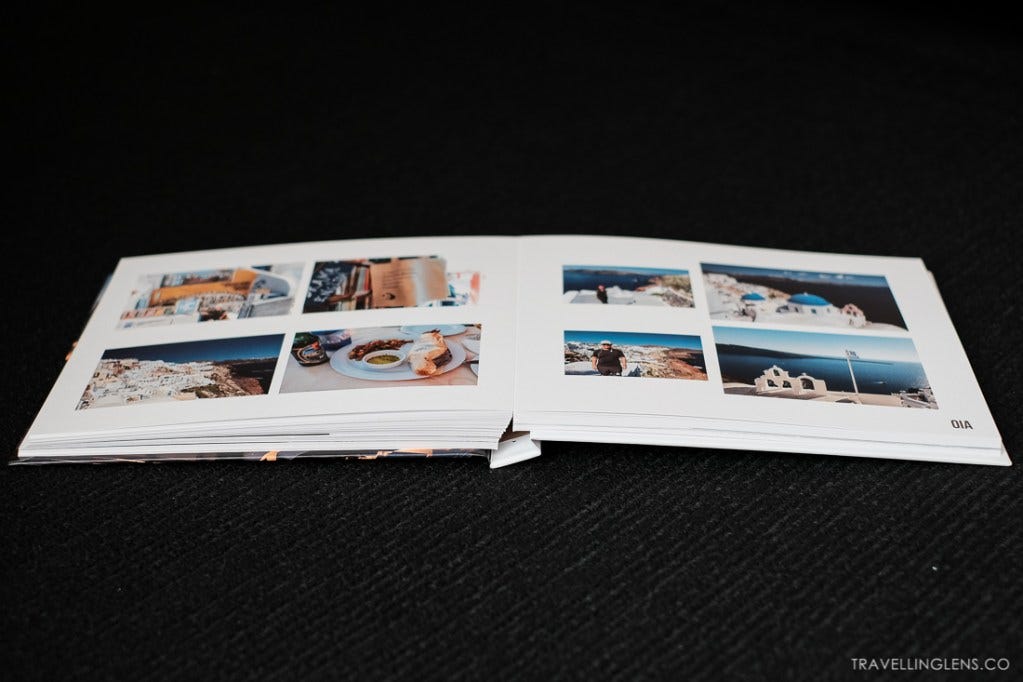
The pages of the book are quite thick and weighty. The pages open up flat quite nicely without any bending to the page.
But if I wanted to be really nitpicky, with such a thick book (80 page book), when I open it up towards the middle of the book, there is a slight stretch/twist to the pages (you can see that in the image below).
Nothing that damages the book and probably something that can’t be helped either.
Publishing via Adobe Lightroom
I used Lightroom’s book module to create my book.
Once I learned the basics on how to use the functions and templates in the Adobe Lightroom book module, I found it was fairly user friendly and intuitive. You simply drageed and dropped your photos into the template.
It was very easy to reorganise photos, change the order of the pages, change the layout of each page etc.
At the time of creating the book, Blurb also had it own publishing software call Bookwright that is free to download and use for those who don’t have any dedicated software to design their books.
I really like the Blurb / Adobe Lightroom intergration because it make it so easy to curate and organise photos for the photo book. I didn’t have to export my photos from Adobe Lightroom and then manually add them to Bookwright.
Once I was ready to hit publish, I clicked on “send book to Blurb”.
This took me through a series of steps to order my book. I received an email receipt for my order and a tracking number.
It was all a pretty simple and straigtht forward process.
Value
I purchased the standard layflat book at Standard Landscape 10×8 inches (25×20 cm) with 80 pages.
I also paid the extra to remove the Blurb logo at the end of the book.
At the time of purchase, I had a 40% Blurb discount code to use. All up including shipping the photo book came to $151.85. Not a bad price for the final outcome.
A quick tip: Sign up to the Blurb newsletter, you’ll be notified of any offers and discounts. They often send out discount codes for up to 40% off your book purchase.
7 helpful tips to make your first photo book
I learned a ton from making this photo book. Here are my top tips from my experience:
1. Making a photo book can feel overwhelming, but it doesn’t have to be.
I found finding a specific purpose and focus for the photo book to be helpful in narrowing down your photos to be included in the book.
It also helped you focus on the story telling aspect—consider telling the story thematically or chronologically.
2. Curate your photos in two passes.
In my first pass, I selected around 800 photos that had potential to be included in the photo book (out of thousands of photos).
My second pass was done during my book-building process in Adobe Lightroom.
As I created my page layouts, I picked out photos that best fit the page layout and told the story. I ended up with a couple of hundred of photos over the 80-page spread.
3. Done is better than perfect!
When you receive your book and open it up, any doubts or minor flaws you think you had is unimportant.
Having a coffee table book that you can flick through anytime without turning on the computer is quite liberating. It’s also a form of backup if all your digital backups fail 🙂
4. Don’t be afraid to include photos you’ve taken from your mobile phone
Mobile phones these days are pretty amazing. They produce some fantastic images.
I included phone photos as long it was memorable, told a story or captured an important moment (even if it wasn’t the best quality photo).
5. Regularly tidy and keep your photos organised.
I use Adobe Lightroom to manage, organise and edit my photos.
There are lots of way to organise your photos. I like to organise mine by year, month then date.

For my photo book, I was telling a story chronologically.
Since my photos were already organised chronologically, it was easy to find the trips and photos I wanted to include.
6. Blurb offers frequent discounts.
Sign up to Blurb’s newsletter to be notified of any offers and discounts. The best discount I’ve seen so far is 40% off your book purchase.
So feel free to get your book ready and wait for a sale to hit the buy button.
7. Have fun with it.
Last but not least, have some fun with it.
Making a photobook book should be fun. It should bring back memories and help you see how your photography has grown over time.
I hope you have found this insightful and may be it has inspired you to create your own book.
Whether it be with Blurb or any other book printing company.
Happy travelling!
(P.s. Are you interested to see more travel and photography related reviews like this?—would love to hear your thoughts!)
If you enjoyed this, then you’ll like:


A photo book is a wonderful gift idea. Blurb is new for me, so thanks for the inspiration! I've used Canva to print books in the past but the quality is so-so.
Thank you for the reminder that LR has a Blurb book building feature. I am in the overwhelm stage so I appreciate you breaking down your process and sharing your book. It turned out beautiful!